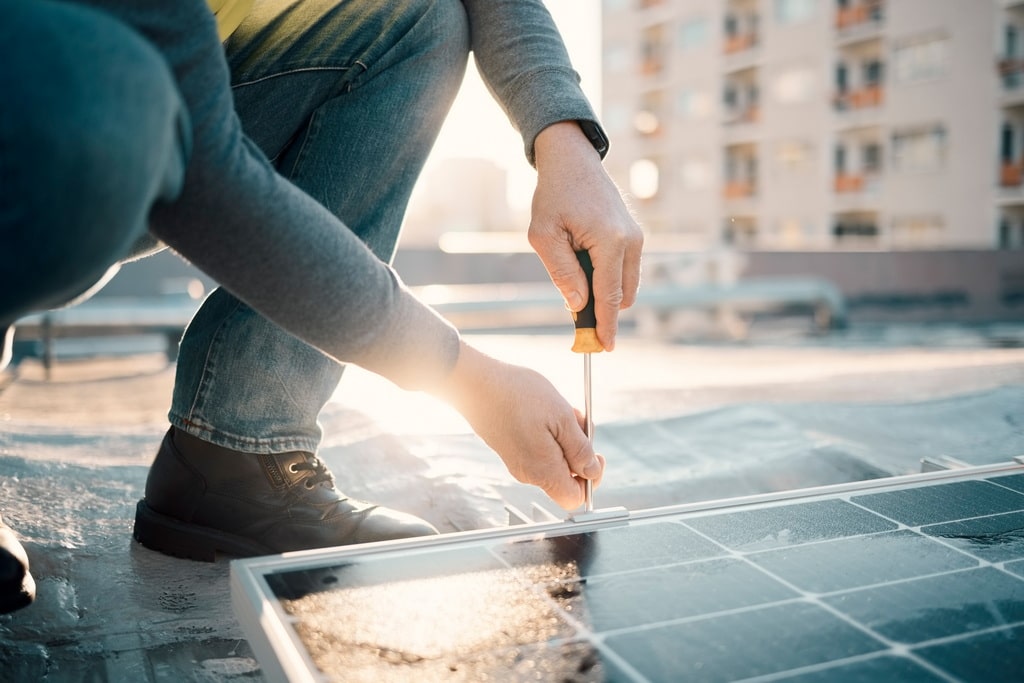
Installing a solar system at home can seem like a daunting task, but it can help reduce your carbon footprint and reduce your electricity bills. In this article, we will provide an overview of the steps involved in installing a solar system at home.
- Evaluate your energy needs
The first step in installing a solar system at home is to evaluate your energy needs. Consider how much energy you use on a daily, weekly, and monthly basis, and what your home’s biggest energy consumers are. This information will help you determine what size solar system you need to install.
- Determine the size of your solar system
The size of your solar system will depend on your energy needs, your roof size and orientation, and your budget. A professional solar installer can help you determine the optimal size of your solar system based on these factors.
- Choose a solar installer
Choosing the right solar installer is crucial to ensuring the quality and safety of your solar system. Look for an installer that is licensed, experienced, and has a good reputation in the industry. You can also check for customer reviews and ask for referrals from friends or family.
- Obtain permits and approvals
Before you can install your solar system, you will need to obtain permits and approvals from your local government and utility company. This process can vary depending on your location and the size of your solar system, so it’s important to get all necessary permits and approvals before you start the process.
- Install the mounting system
The mounting system is what holds your solar panels in place on your roof. It is important to install the system properly and securely, as this will prevent any damage to your solar panels or roof in case of strong winds or other weather conditions.
- Install the solar panels
Once the mounting system is in place, the solar panels can be installed. Solar panels are typically installed in rows, and each panel is connected to the next using wiring and connectors. The panels are also connected to an inverter. The inverter converts DC power into AC power that can be used in your home.
- Install the inverter
The inverter is an important part of your solar system because it converts DC power into AC power that can be used in your home. Inverters come in different sizes and types, so it’s important to choose the right one for your solar system.
- Connect to the grid
Once your solar system is installed, it will need to be connected to the grid. This involves installing a bi-directional meter that can measure the amount of energy your solar system generates and feeds back into the grid. Your solar installer will typically handle this process on your behalf.
- Test and commission your solar system
Before your solar system is fully operational, it will need to be tested and commissioned to ensure that it is working correctly and safely. This includes checking your solar system’s wiring, connections, and other parts, and making sure it is producing the expected amount of power.
- Maintain and monitor your solar system
After your solar system is installed, it is important to maintain and monitor it regularly to ensure that it is functioning optimally. This includes cleaning the solar panels periodically, monitoring the output of your solar system, and scheduling regular maintenance checks with your solar installer.
Conclusion
It can seem like a complex process to install a solar system at home, but with the right planning and professional installation, it can be a good investment that can save you money and reduce your carbon footprint. By following these steps, you can ensure that your solar system is installed safely and will provide reliable and sustainable energy for a long time to come.

